Lightning Rod Installation: What Happens From Survey to Certificate
By Site Safe Lightning Protection 10 min read

A lightning rod installation has five parts: a survey and layout drawing, air terminals on the roof, conductors that give every terminal two paths to earth, ground electrodes at the corners, and bonding that ties the new system to the gas line, the water line, the electrical service and anything else metal that’s grounded. Then the installer documents the work, and on a certified job a third party inspects it. All of it follows NFPA 780, UL 96A and LPI-175, three documents that largely agree with each other. This article walks through what a crew does at each step, the numbers the standards set, and what to ask before you sign.
Who should install lightning rods
The job belongs to a lightning protection contractor. The Lightning Protection Institute’s FAQ says flatly that lightning protection is not a do-it-yourself project, and that homeowners, electricians, general contractors and roofers typically lack the expertise (LPI FAQ). LPI’s model specification goes further: the work is done by a specialty contractor under the supervision of an LPI Certified Master Installer, and the shop drawing carries that installer’s stamp (LPI specification). A UL Master Label Certificate needs an installer listed with UL and a UL field inspection (UL Solutions).
The big-box how-to pages that rank for this search say to space rods every 50 ft and chase a 10-ohm ground reading. The UL guide puts house rods 20 or 25 ft apart, and LPI says low ground resistance is desirable but not required (UL guide; LPI overview). Kits sold online have the same problem. A kit arrives without a layout drawing for your roof, and nobody inspects or certifies what you build from it. Our UL 96A and Master Label guide explains what the paperwork actually certifies.
Step 1: the survey and layout
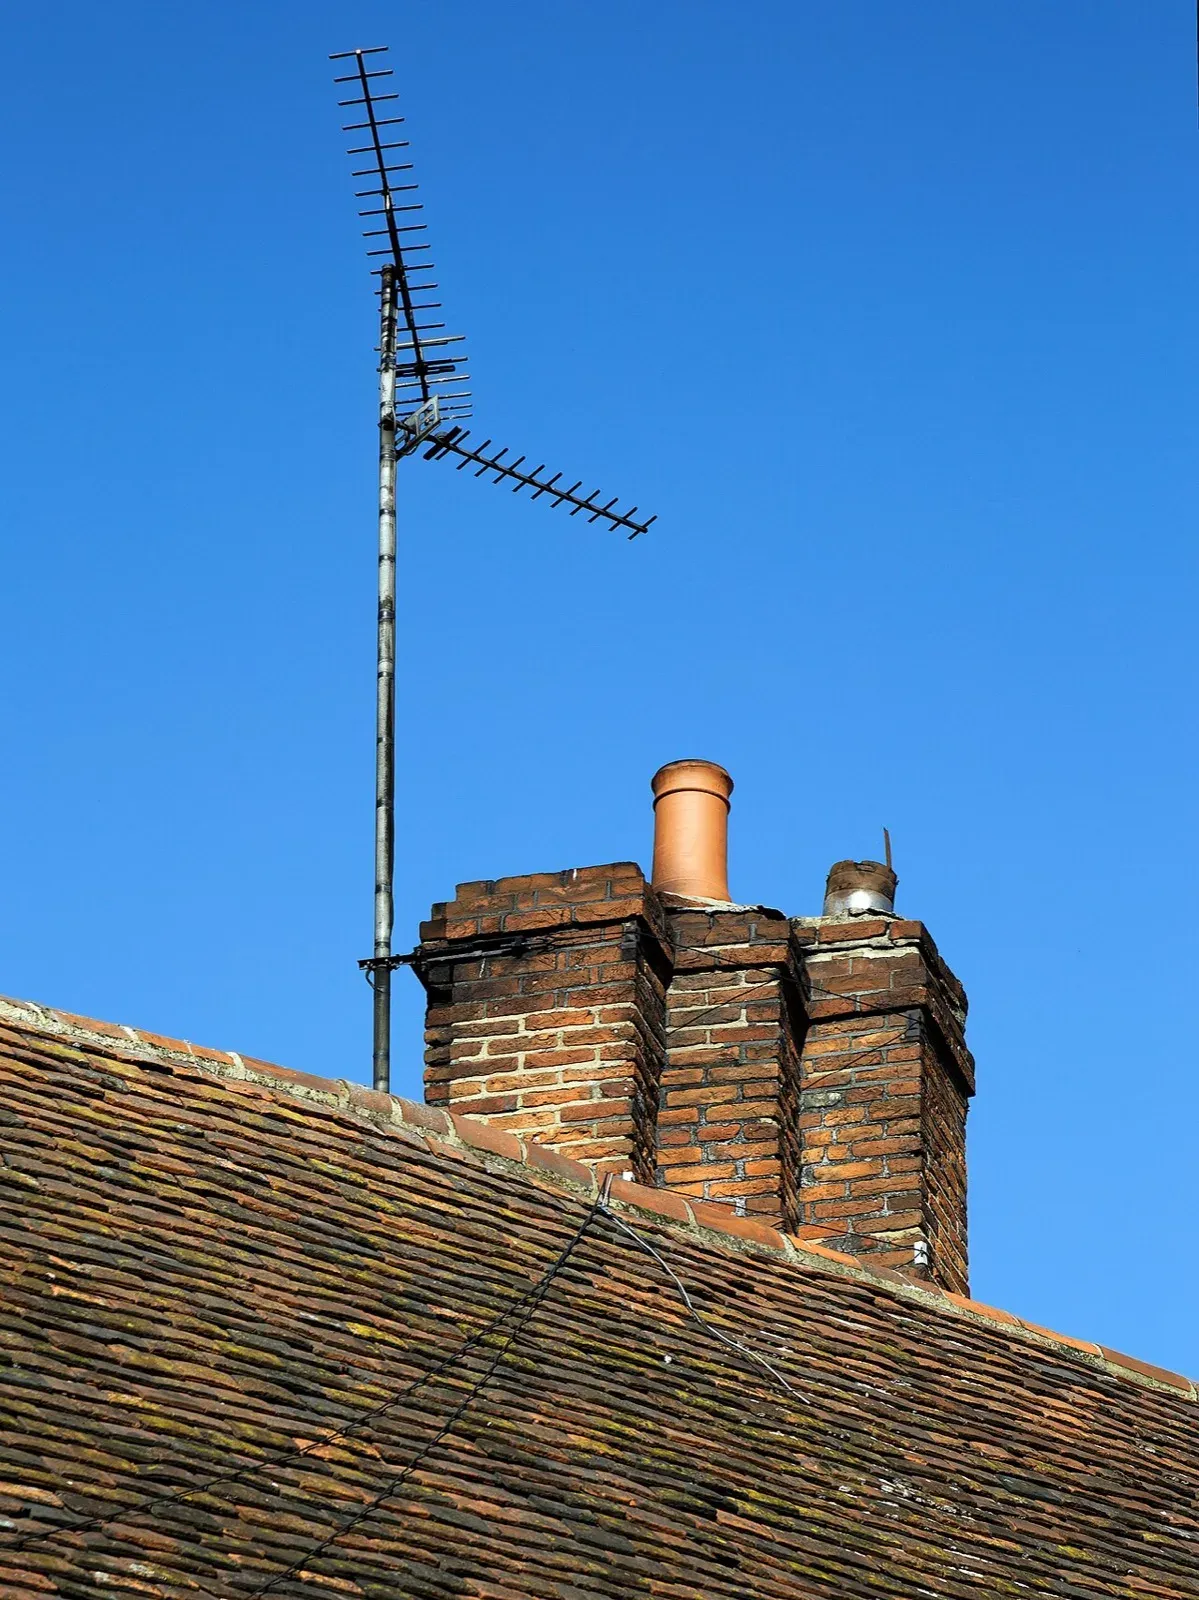
The installer walks the roof and the lot before quoting. On the roof they note ridge lengths, corners, chimneys, dormers, vents, cupolas, antennas and dishes, metal roof sections and any rooftop equipment. At grade they look for the gas meter, the electrical service, water entry, buried utilities, and where down conductors can run without landing in a walkway. They also look at the soil, because rocky or shallow ground changes the grounding plan.
The output is a drawing. UL’s guide describes two placement methods for ordinary buildings: a grid with set spacing, and the rolling sphere, an imaginary ball with a 150 ft radius rolled over the building that must touch only air terminals (UL guide). On commercial work LPI expects a stamped shop drawing submitted for approval before the crew shows up (LPI specification). For how that drawing gets made, see how a lightning protection system is designed.
Step 2: air terminals on the roof
Air terminals are the rods. They are mounted on bases that are bolted, screwed or adhered to the roof, and the roof conductor is clamped into each base. The rules that decide how many you need and where they go:
| Rule | Requirement | Source |
|---|---|---|
| Height | Tip at least 10 in above the object it protects | UL guide, LPI specification |
| Spacing | Not more than 20 ft apart; 25 ft if 24 in terminals are used | UL guide |
| Edges and corners | Within 2 ft of exposed corners and roof edges | UL guide, LPI specification |
| Pitched roofs | With eaves 50 ft or less above grade and no dormers or projections, terminals on the ridge only, not more than 25 ft apart | UL guide |
| Large flat roofs | When the roof exceeds 50 ft in length or width, interior terminals may be spaced up to 50 ft apart, with perimeter terminals at 20 or 25 ft | UL guide |
| Tall terminals | Over 24 in must be braced at half their height | UL guide |
| Metal bodies | Metal 3/16 in thick or more can serve as a terminal if it’s bonded into the system | LPI specification |
| Chimneys | Copper parts within 2 ft of a chimney exhaust are tin coated | LPI specification |
Sources: UL guide and LPI specification.
Roof penetrations are the part owners worry about. LPI’s specification says penetrations for down conductors use through-roof assemblies with solid rods and proper flashing, and that the roofing contractor furnishes the methods and materials so the roof warranty survives (LPI specification). On a house, most conductors run on the surface along the ridge and down a corner, so penetrations are rare. Ask anyway.
Step 3: conductors
The roof conductor links the terminals, and down conductors carry the current to the ground electrodes. The standards care about geometry as much as metal:
- Every terminal needs a two-way path, horizontally and downward, to the grounding system (LPI specification).
- No bend tighter than 90 degrees and no bend radius under 8 in. Lightning jumps corners instead of following them.
- Exposed conductor is fastened at least every 3 ft, with fasteners of the same metal as the conductor. Galvanized or plated steel fasteners are not acceptable.
- Down conductors average no more than 100 ft apart around the perimeter, and no building has fewer than two. The NWS facility standard adds that they should be as far apart as possible, such as diagonally opposite corners (NWSM 30-4106).
- Where a down conductor could be hit by mowers or vehicles, a guard protects it to 6 ft above grade.
- Aluminum conductor stops at least 18 in above grade and is never embedded in concrete or masonry or run on copper surfaces. Copper is never run on aluminum or galvanized steel (UL guide).
Down conductors can be concealed inside the construction or run in PVC conduit from roof to grade, which is the usual answer on a new build (LPI specification). On a steel-framed building the structural steel can replace the down conductors, with roof conductors tied to the frame at intervals averaging 100 ft. Gutters, downspouts, metal roofing and ducts cannot substitute for conductors (NWSM 30-4106). The conductor itself is a stranded cable that doesn’t match ordinary wire gauges: Class I copper is at least 57,400 circular mils, aluminum 98,600 (UL guide).
Step 4: ground electrodes
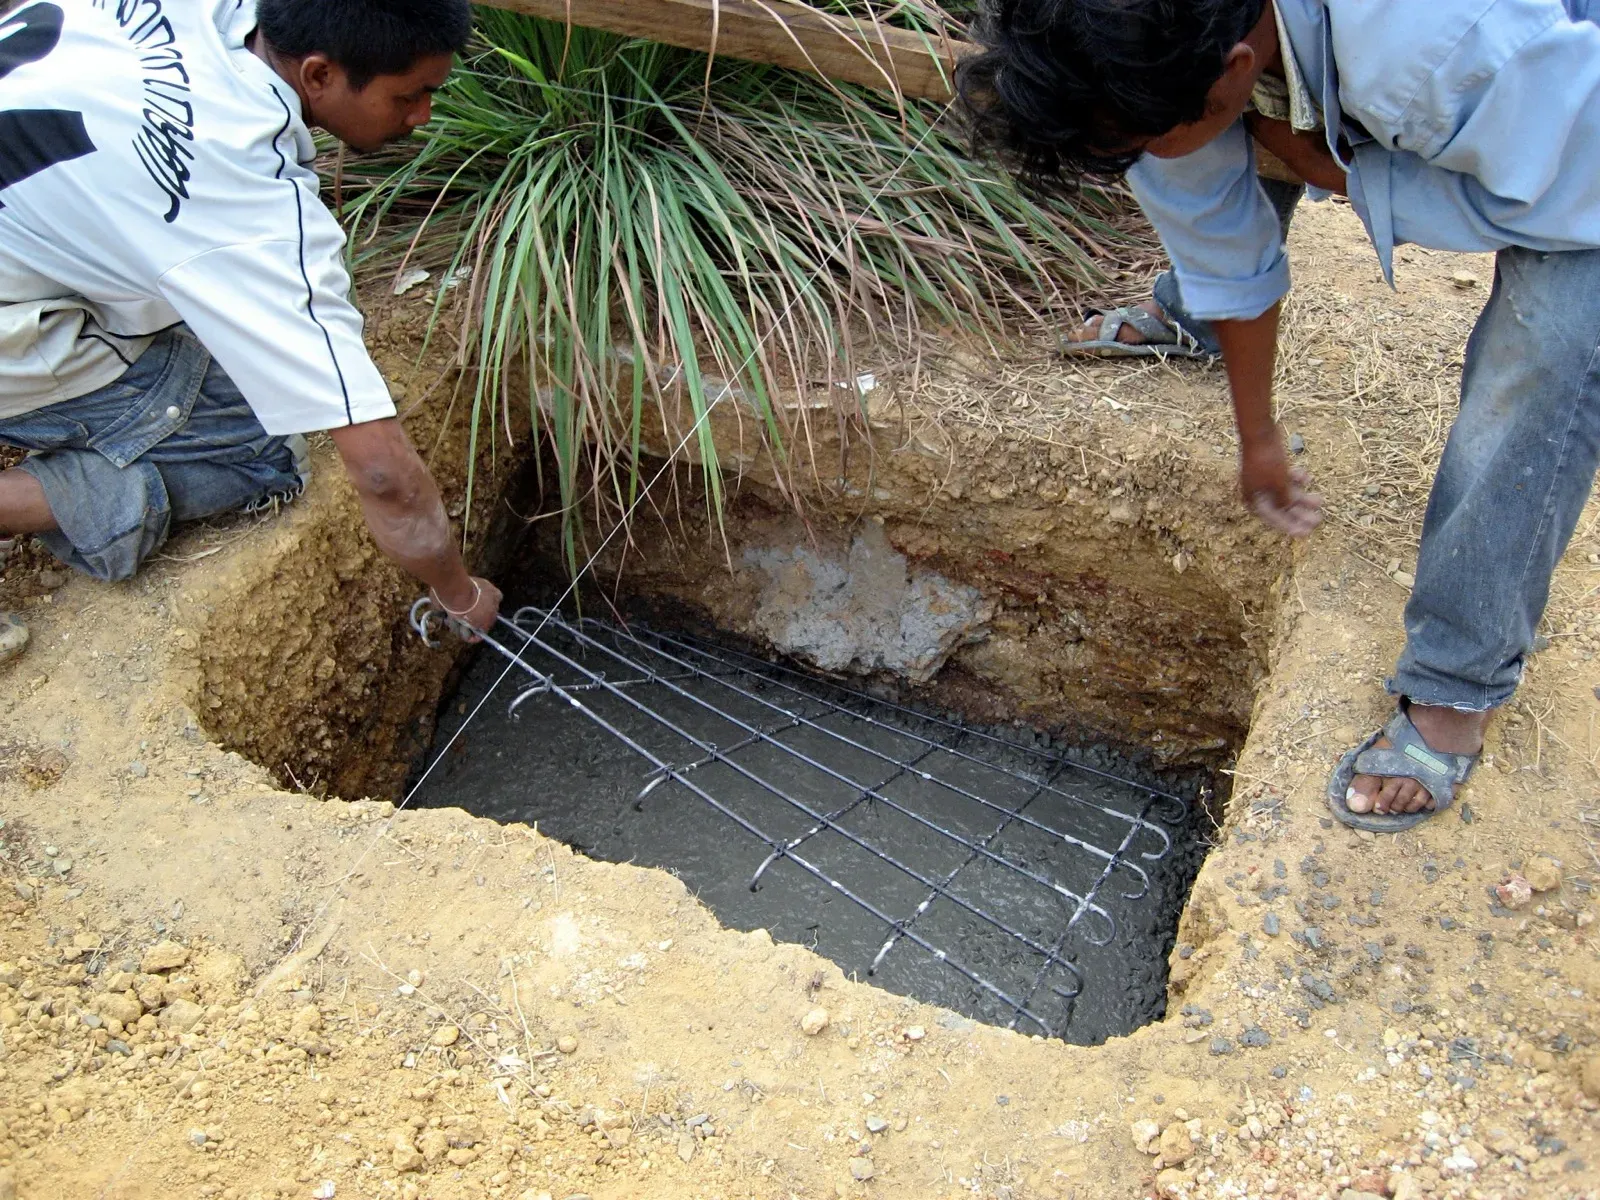
Each down conductor ends at its own ground electrode. The default is a rod at least 1/2 in in diameter and 8 ft long, of copper-clad steel, solid copper or stainless steel, driven so it extends at least 10 ft into the earth and below the frost line where possible (UL guide). The NWS standard places rod tops 1 to 2 ft below grade and 2 to 6 ft outside the foundation or footing, and spaces multiple rods at least twice a rod length apart (NWSM 30-4106).
Where a 10 ft rod won’t drive, the UL guide allows a radial conductor at least 12 ft long buried 18 in deep, a ground ring buried 18 in deep, a ground plate of at least 2 sq ft buried 18 in deep, or a combination where topsoil is shallow. Concrete-encased electrodes of 20 ft are allowed on new construction only. That matters on rocky foothill lots along the Front Range and on shallow caliche in parts of Texas and Oklahoma. The NWS standard starts facility grounding with a survey of rock formations, gravel deposits and soil types, and flags rock near the surface, shallow soil and dry soil as conditions that need extra measures (NWSM 30-4106). LPI expects a proper electrode to come in under 50 ohms, but says low resistance is desirable rather than required (LPI overview). Our guide to grounding a house for lightning covers the electrode choices in more detail.
Step 5: bonding and surge protection
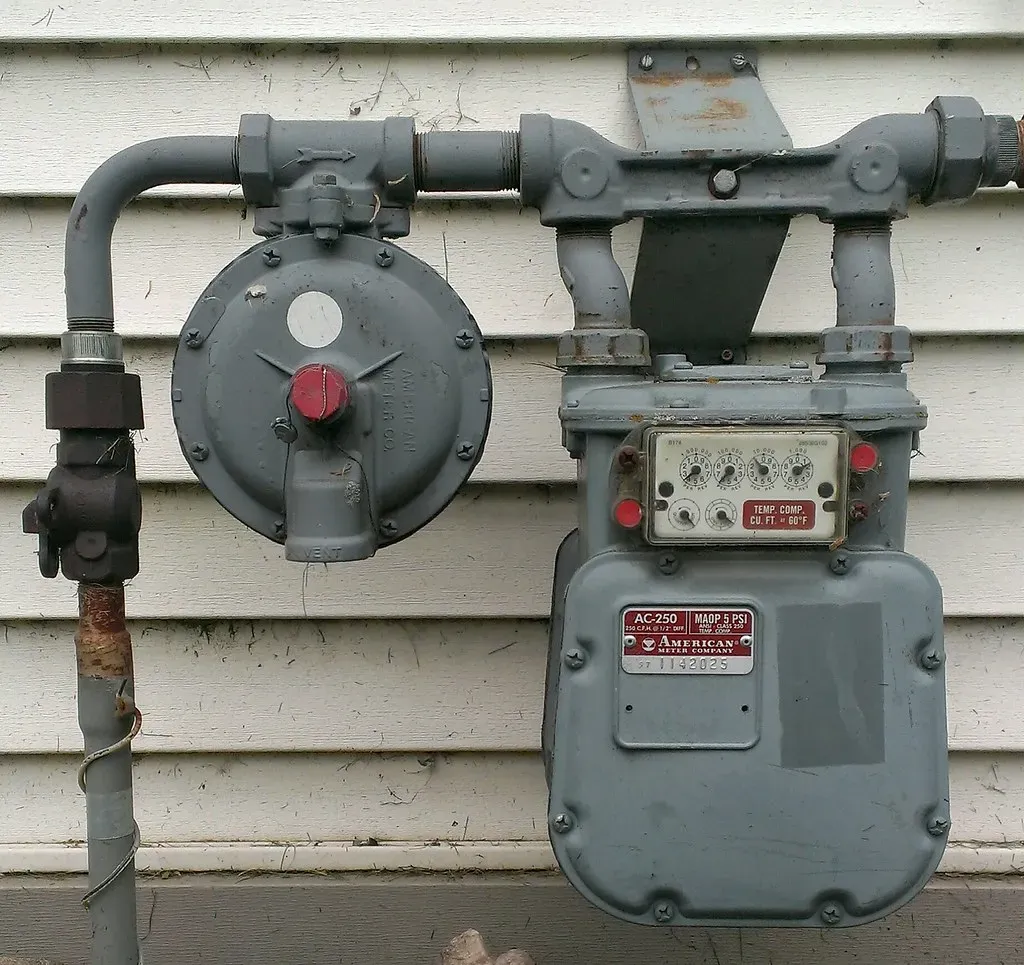
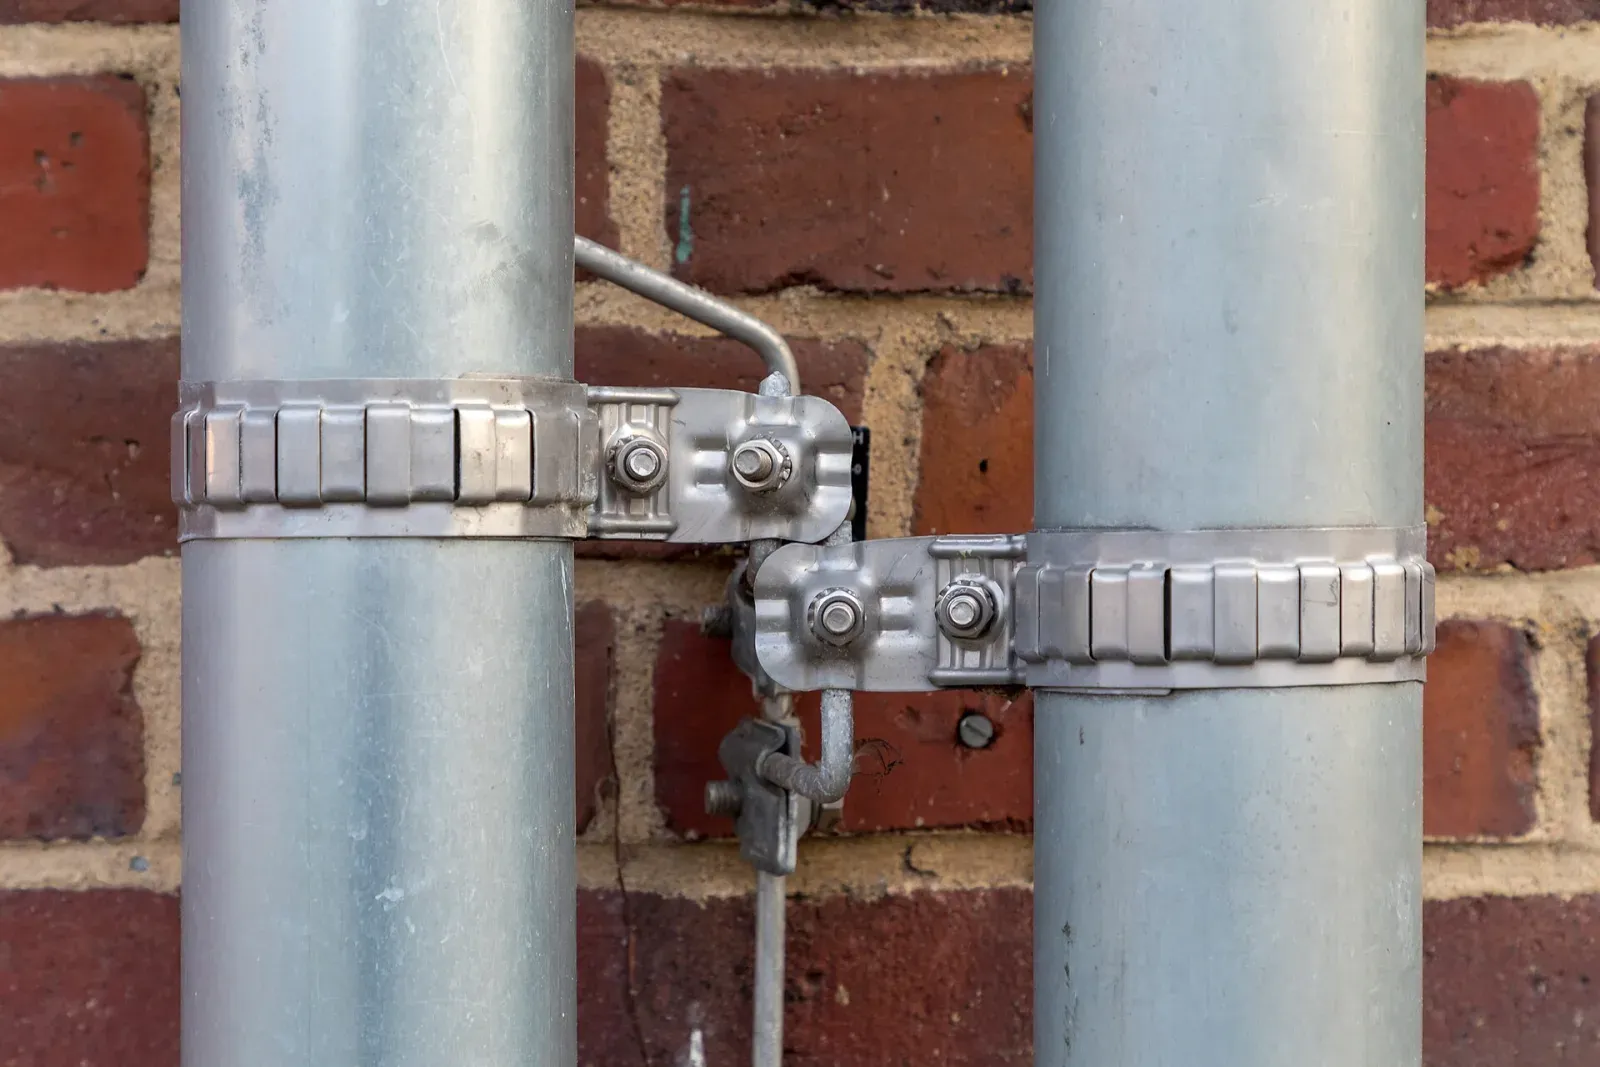
Cheap installs tend to skip this step. LPI’s design overview requires every grounded building system and every continuous metal piping system to be interconnected with the lightning protection ground, with gas lines tied in on the customer side of the meter (LPI overview). Grounded metal bodies within the calculated bonding distance get bonding conductors of their own (LPI specification). The point is to keep everything at the same potential during a strike so current doesn’t arc from the down conductor to a gas pipe inside the wall.
The same specification calls for surge suppression at every service entrance. The NWS page on lightning rods makes the same point for homeowners: rods alone don’t stop surges that come in on power, data and phone lines (NWS). Buildings over 60 ft tall also get a ground loop that ties all the electrodes together (LPI specification).
Step 6: documentation and inspection
On an LPI-certified job the owner signs off at two stages: once on the in-ground work before it’s buried, and once on the roof work at completion. The installer photographs the concealed parts, LPI’s third-party field staff inspect after completion, and the owner receives an as-built drawing and the certificate (LPI specification). The UL route is similar: listed components installed per UL 96A by a listed installer, then a site inspection that can earn the Master Label Certificate (UL guide). If the work is an addition to a building with no system, the contractor is expected to tell the owner what the existing structure needs to be fully certified.
Keep that paperwork. LPI’s FAQ notes that insurers often consider certified systems for discounts, and your agent will ask for the certificate (LPI FAQ).
New construction or an existing house
LPI says a system can go on an existing building or a new one at almost any phase. Planning it during design gives the most options for hiding it: conductor chases inside walls, electrode locations set before the slab, and roofing materials and adhesives chosen to suit the terminals (LPI FAQ). On an existing house the conductors run on the surface, usually along the ridge and down the corners. Done well, the system is neat and mostly inconspicuous.
What to ask an installer
- Which standard will the work follow, and will I get a UL Master Label Certificate or an LPI certificate?
- Are the components UL 96 listed? Can I see the layout drawing with the terminal spacing and the number of down conductors?
- What ground electrodes will you use on my soil, and will you dig test holes first?
- How will you attach to the roof, and will the roofer approve the method so the warranty holds?
- Which metal systems will you bond: gas piping, water piping, the electrical service, antennas, metal roofing?
- Are surge protective devices included at the service entrance?
- Who pulls the permit? Requirements vary, so check with your local building department.
- What does the inspection schedule look like afterward? LPI suggests a yearly visual check and a testing inspection about every five years (LPI overview).
For what the job costs, see our guide to lightning rod installation cost. LPI’s rule of thumb is that a system generally runs under 1 percent of a structure’s value (LPI FAQ).
Getting a quote
If you want a system on a house, a barn, a commercial roof or a tank site, contact Site Safe Lightning Protection for a site visit. The residential lightning protection services page describes what a home system includes.
FAQ
Can I install my own lightning rod?
The Lightning Protection Institute says no. A single rod wired to a stake gives lightning one partial path, and LPI warns that a partial path can side-flash into the house. Certification programs require a listed or certified installer, and a kit can’t be inspected or certified.
Where should lightning rods be placed on a house?
Within 2 ft of the ridge ends and roof corners, then along the ridge at no more than 20 ft intervals (25 ft with 24 in terminals), plus on chimneys, dormers and anything that sticks up above the ridge. Each terminal needs two paths to ground.
How deep do lightning rod grounds go?
A standard rod extends at least 10 ft into the earth, below the frost line where possible, with its top 1 to 2 ft below grade and 2 to 6 ft out from the foundation. On rock or shallow soil, rings, radials and plates are used instead.
Can lightning rods be installed on an existing house?
Yes. LPI says systems can be added to existing buildings at almost any time. The conductors run on the surface along the ridge and down the corners, and electrodes are driven outside the foundation.
Does a lightning rod installation need a permit?
It depends on the jurisdiction. Some cities and counties permit it as electrical work and some don’t regulate it. Ask the installer who pulls the permit, and check with your local building department.
Talk to Site Safe Lightning Protection about your property.
Frequently asked questions
Can I install my own lightning rod?
The Lightning Protection Institute says no. A single rod wired to a stake gives lightning one partial path, and LPI warns that a partial path can side-flash into the house. Certification programs require a listed or certified installer, and a kit can't be inspected or certified.
Where should lightning rods be placed on a house?
Within 2 ft of the ridge ends and roof corners, then along the ridge at no more than 20 ft intervals (25 ft with 24 in terminals), plus on chimneys, dormers and anything that sticks up above the ridge. Each terminal needs two paths to ground.
How deep do lightning rod grounds go?
A standard rod extends at least 10 ft into the earth, below the frost line where possible, with its top 1 to 2 ft below grade and 2 to 6 ft out from the foundation. On rock or shallow soil, rings, radials and plates are used instead.
Can lightning rods be installed on an existing house?
Yes. LPI says systems can be added to existing buildings at almost any time. The conductors run on the surface along the ridge and down the corners, and electrodes are driven outside the foundation.
Does a lightning rod installation need a permit?
It depends on the jurisdiction. Some cities and counties permit it as electrical work and some don't regulate it. Ask the installer who pulls the permit, and check with your local building department.
Sources
- Lightning Protection Institute: FAQ
- Lightning Protection Institute: Specification, Lightning Protection Systems (PDF)
- Lightning Protection Institute: Lightning Protection Overview
- UL: Lightning Protection Marking and Application Guide (2016, UL 96 and UL 96A requirements)
- UL Solutions: Lightning Protection Installer and Master Label Certificate Program
- NWSM 30-4106 Lightning Protection, Grounding, Bonding, Shielding, and Surge Protection Requirements (National Weather Service, 2017)
- NFPA 780, Standard for the Installation of Lightning Protection Systems, 2023 edition (NFPA document page, free read-only access)
- National Weather Service: Lightning Rods and Lightning Protection Systems
Image credits
- Lightning protection down conductor running straight down a stucco wall, with a test clamp and label plate near grade. Photo: ManuelB701 / Wikimedia Commons (source), CC0.
- Stainless bonding clamps joining two metal downspouts to a lightning protection conductor on a brick wall. Photo: Dietmar Rabich / Wikimedia Commons (source), CC BY-SA 4.0, resized.